GoPros and other action cameras have become very popular for underwater photography and videography. This popularity is despite them lacking many of the features that are most useful for taking still images underwater. Action cameras are primarily aimed at shooting video so don’t have flashes which means you can’t use an external strobe to light your still pictures. Few have custom white balance or shoot RAW and very few allow manual control of ISO, Aperture and Shutter Speed. What they do have in favour for underwater photography is they almost all have wide angle lenses built-in.
When speaking about underwater photography to diving clubs in the UK I often get asked whether the things I talk about apply to GoPros. The basic underwater photography techniques are very relevant to using an action camera, but I thought it would be good to put my money where mouth is and do some still photography with a GoPro on my latest trip to Egypt.
Before we get into things let me qualify this blog by saying that I don’t consider myself either a videographer or a GoPro guru. There are plenty of guys doing fantastic stuff with their action cameras. This blog is based on what I found got results in still photography while taking a GoPro on a few dives.
Here’s me using the setup discussed in this blog while diving in the Egyptian Red Sea at Marsa Shagra Village. Having two lengths of arm and three clamps gives more flexibility when positioning whatever light source you are using.
Camera and Housing
The camera I took to Egypt was a GoPro Hero 3 Black that I bought around 2014 as a backup camera for when shooting macro with my Olympus mirrorless in case something big turned up. there are plenty of these on the used market but be aware you had to buy the screen separately. If you are looking at buying an action camera I’d recommend you get one with a screen especially if you have any aspirations to do still images with it.
The housing is the GoPro model that came with the camera but fitted with a bigger back door to take the add-on screen. For a small camera with very few controls ergonomics aren’t a major factor when buying a housing. The main thing to think about is how deep do you want to take it. A lot of action cameras are billed as being waterproof to various depths but as I discussed in a previous blog they still have vulnerabilities and if a housing is available I’d recommend you get one.
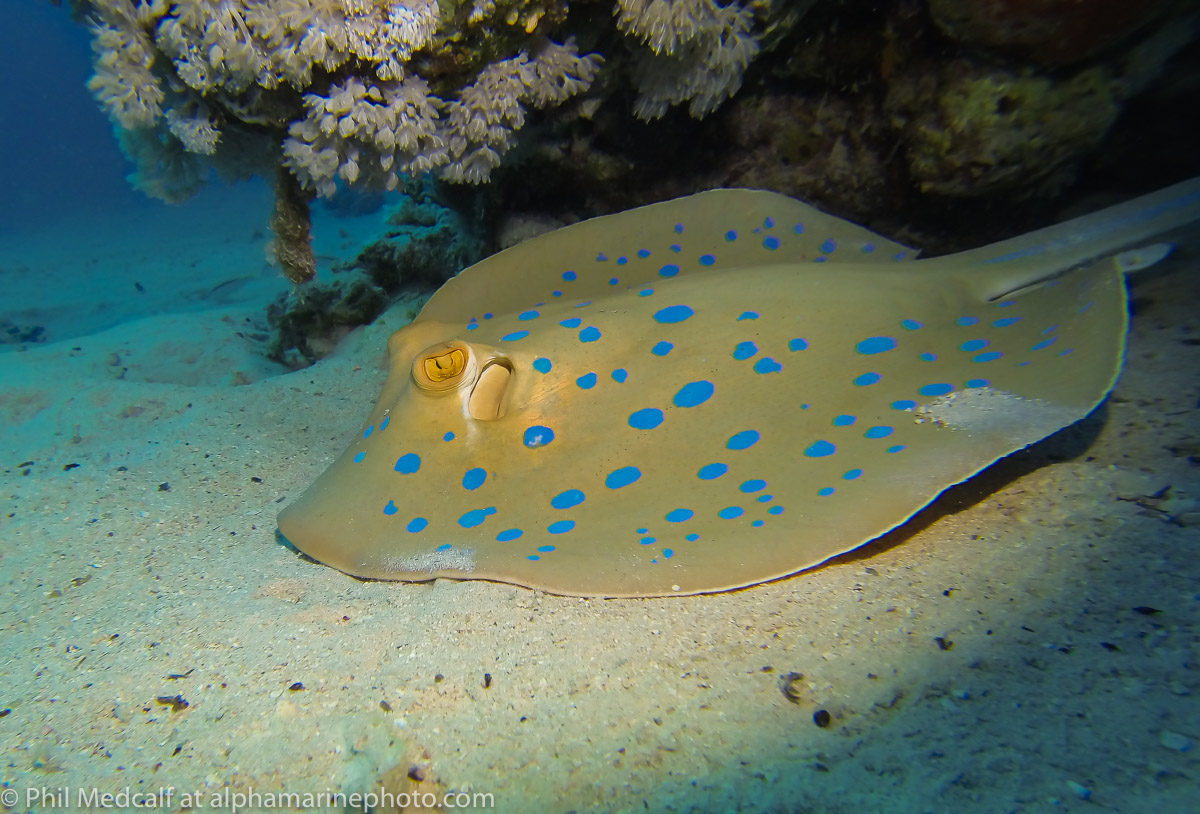
This shot was taken with the setup shown in the picture above. I’ll discuss light coverage later on in the blog. In this pic the pool of light has created quite a nice effect and the Hero 3 impressed me by how sharp this image came out.
Filters
I used a Polar Pro red filter for some of the images I shot. For shallow stuff in a few metres I left it off to prevent getting a red tinge to the shot. When you are using a filter be aware of where you point the camera. The more towards the sun you are pointed the more red (or magenta depending on the filter) tinge you will get to your shots.
Remember also that once you reach a depth that red and yellow light isn’t going to reach, a filter is useless. In fact it just reduces the amount of blue or green light reaching your camera sensor. And if you are using video lights you shouldn’t use a filter as this will tint everything your light covers.
If you are buying an action camera make sure that the housing can be fitted with a filter before buying otherwise you’ll have to rely on constant lights to add colour in pictures taken at all but the shallowest of depths. Not all the cheap models have ports of a size that will take the popular brands of filter.
Fitting a coloured filter isn’t a panacea to fix the colours in your images. While it can give the camera’s own white balancing system a helping hand in varied light like this shot issues occur. At the top where light levels are greater we’ve got a reddish-purple tint while the lower part of the shot is greener than I’m happy with. There are ways of correcting this using software but at shallow depth pictures like this often look better when you don’t use a filter at all.
Lenses
Many action cameras suffer from having very long minimum focusing distances. My old Hero 3 won’t focus closer than 30cm while the latest GoPro 7 will focus to 15cm in wide mode according to internet sources. So if you plan on doing close-up stuff think about adding a macro lens. I did some shooting with a Marumi 55mm +10 diopter screwed on to a Snake River Prototyping filter mount, although my results varied wildly in quality.
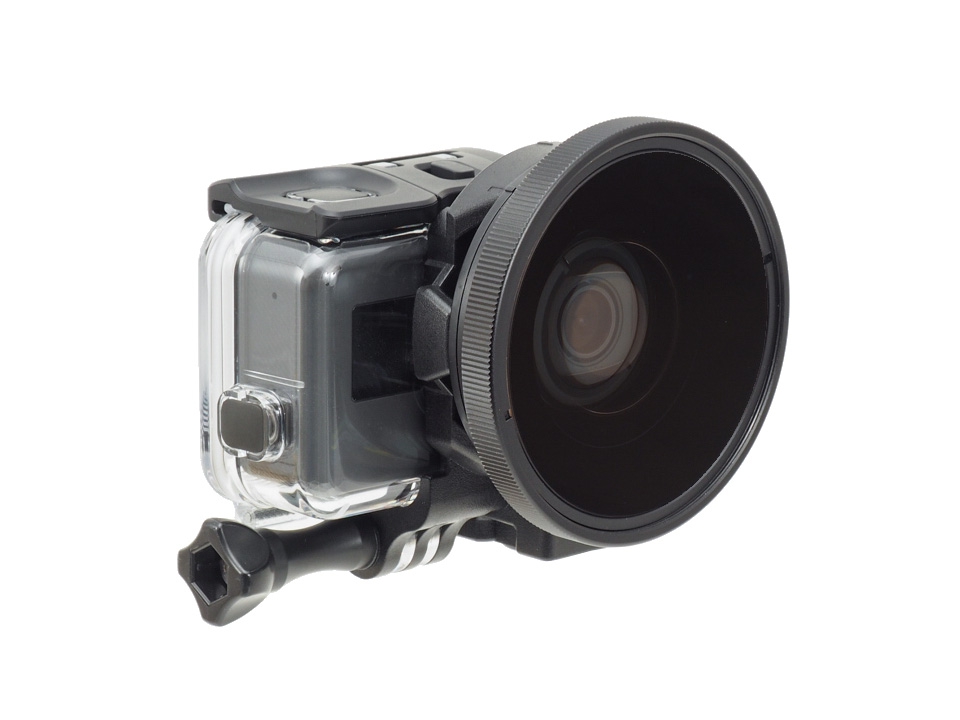
If you have the budget and a suitable camera and housing INON make an excellent closeup lens for action cameras.
INON produce some fantastic accessories for action cameras including close up lenses and the mounts to attach them onto GoPros and other action cameras.
Trays and Handles
I used my GoPro mounted on a Nauticam Easitray that normally has a compact or Mirrorless camera housing on it. To hold it in place I used a GoPro tripod mount and one of the screws from the tray moved to the centre space. The Nauticam comes with just a left handle and you buy the adjustable right handle separately. If you only have one light and are shooting stills rather than video you can save some cash and bulk by not adding the second handle. For video having two handles adds real stability when shooting.
There are a huge range of handles, trays and arms on the market. I advocate the Nauticam because it is durable and versatile. Down the line if you change camera and housing you will very likely still be able to use the tray. But if you want a simple solution a handle might be a good choice. DivePro now produce a handle with a tripod screw to mount the camera and a ball mount on it which looks really good. I’m hoping to get hold of one for our next trip.
If you are looking for a single handle for mounting your action camera and a light the DivePro Z09 looks like being a great option. Hopefully we’ll have one to test in the near future.
Lights
The key to lighting for an action camera is coverage. Pictures and video with a small circle of colour surrounded on all sides by blue or green don't usually look great. Go for video lights with a wide angle and ideally opt for two. If you only have one, like I did on this trip, place it on a fairly long arm system that you can adjust to be above and behind the lens of the camera. This will give more distance for the light to spread in before it reaches your subject and cut down on backscatter. But bear in mind as always that placing the light further from the subject also reduces the light reaching it. Lighting is always a juggling act and this is why you’ll see me spend the most effort when shooting on how my light sources are positioned.
The light I used on this occasion was the Scubalamp P53 which has a 5000 lumen output (thanks to Jussi at Deepshots for the use of this). It also can be used as an LED strobe but you need a camera with a flash to trigger it so that’s of no use with a GoPro. I’ll talk more about the P53 in a future blog. Video light power is pretty much a matter of budget, if you have the money you can get lights with 33000 Lumen quoted output. But also think about light quality (things like CRI), beam consistency and colour temperature. It’s no use having a really powerful, wide angle light if the colours look terrible or it has a small hotspot with much less light in the rest of the beam angle.
Video lighting will always have disadvantages over strobes when it comes to still photography.
While the P53 did an excellent job of lighting some of my pictures like the stingray above, the extra features it has beyond being video light make it less suitable for using with a GoPro than a normal video light like this V4K also produced by Scubalamp
Conclusion
If you have a GoPro or similar already and are thinking of what to add to improve your pictures I hope this has been useful. I would warn that it’s probably not the best course of action ploughing large amounts of money into accessorising your GoPro for stills photography. There is a point where it will be more cost effective to change to something like a high-end compact that is more suited to stills. But if you are going to buy equipment to add to your setup keep in mind what I’ve mentioned earlier about whether it will be transferrable to a different camera and housing if you upgrade.
In the same vein if you don’t already have an action camera and are looking to do stills photography then there really are better options on both the new and used markets.
If you’d like further advice about adding accessories to your action camera, feel free to get in touch by commenting on this blog or email info@alphamarinephoto.com . You are also welcome to join our Facebook Q and A group, please read the rules before posting or commenting.
We are an equipment dealer for a range of underwater photography brands.
If you found this blog useful you can support what I do by donating via Buy Me A Coffee.
We are now affiliated to Wex Photo and Video. By using any of the links to their site on here and buying something you will help to fund this blog and the other things we do.


