

The following is a blog I put together to give some more detail to my discussion of white balancing in one of my online course sessions for TG users. While the images are from the TG6 and that’s the camera I’m basing this around you’ll find much of it applies to previous TG models.
Like most cameras the TG’s offer a range of white balancing options including Auto, some presets, Capture White Balance (also known as Custom or One Touch White Balance) and a custom/manual setting using colour temperature in Kelvin.

To bring up the white balance options press the OK button while in a shooting mode and then scroll up or down in the menu on the right hand side of the screen. The currently selected white balance mode will be shown in the right hand menu. Once you reach the white balance mode it will be highlighted yellow and the WB menu will be displayed across the bottom of the screen.
What white balances are available depends on the mode the camera is in. Auto and Scene modes don’t let you change from Auto white balance but all other modes allow you to use the full range.

All the options available won’t show on the screen at once so you’ll have to scroll across. From left to right in this shot are the symbols for Auto, Sunny, Shade, Cloudy, Incandescent light, Fluorescent light and Shallow Underwater.

In this screenshot are Deep Underwater (I’ve missed out Medium Depth Underwater but it is in the menu), Flash, four Capture White Balances and Custom White Balance in Kelvin
For a lot of situations Auto white balance does a reasonable job and if you are shooting in Raw and are happy to colour correct images using software such as Adobe Lightroom Classic you may find you seldom change from it.
The next three modes are for outdoor photography and aim to give the ‘correct’ colour tone to your pictures in those light/weather conditions. But you may find that you don’t get a colour that represents what you are seeing. For instance a nice warm tone of light may be reduced by shooting with the sunny white balance.
The two artificial light settings offset the effects of the particular light sources. Incandescent setting cools down the warm tones from that type of bulb while fluorescent adds more warmth to the colours.
All five of the above presets along with Flash white balance have corresponding colour temperatures. These can be found on page 53 of the TG6 manual. Somewhat confusingly, when talking about colour temperature a warm tone with more red and orange to it will be a lower Kelvin number while a higher number gives a bluer tone. The colour temperatures listed in the manual for the preset are the temperatures for the light that the camera is correcting for. As an example fluorescent light has a higher Kelvin number than incandescent light so it looks bluer.

Interestingly the three underwater modes aren’t just based on taking out an amount of blue or adding warm tones. There is some level of automation in how they work. This shot was taken using the deep underwater setting and I’d expect the image to have a lot of red in it if the white balance was just removing blue tone. But even though there is a variation in the light levels across the picture there doesn’t seem to be a difference in tone from how it looked on Auto white balance or in fact on either of the other two modes. Presumably the camera software will look at the overall tone in a shot and reduce it if the tone is predominately blue or perhaps green. I haven’t actually tested this in water as I tend to use Capture White Balance or colour correct with software. Both of which will do better jobs than the camera software.
Flash white balance does a good job when using the built in flash in particular but you may find if you have an external flash such as an underwater photography strobe that the colour tone may be different and in my experience Auto white balance gives similar results.
Then we have the four capture white balances or as Olympus calls them in the manual One Touch White Balance despite as you’ll see that multiple button presses are required. To set these you need to fill the frame with a white or grey object. On land a sheet of paper will do. Underwater a diver’s slate with a matt surface can be used but if your skin is pale you could use your hand. Other options include white sand on the sea bed, an unpainted aluminium cylinder perhaps your dive buddy’s or some folk wear white fins for doing this. Purists will say that you should use a matt 18% grey photographer’s slate but in real world situations it doesn’t make a significant difference.

When one of the four Capture White Balance settings is selected in the white balance menu you’ll see this. Then press the Info button to start the process of setting a new white balance.
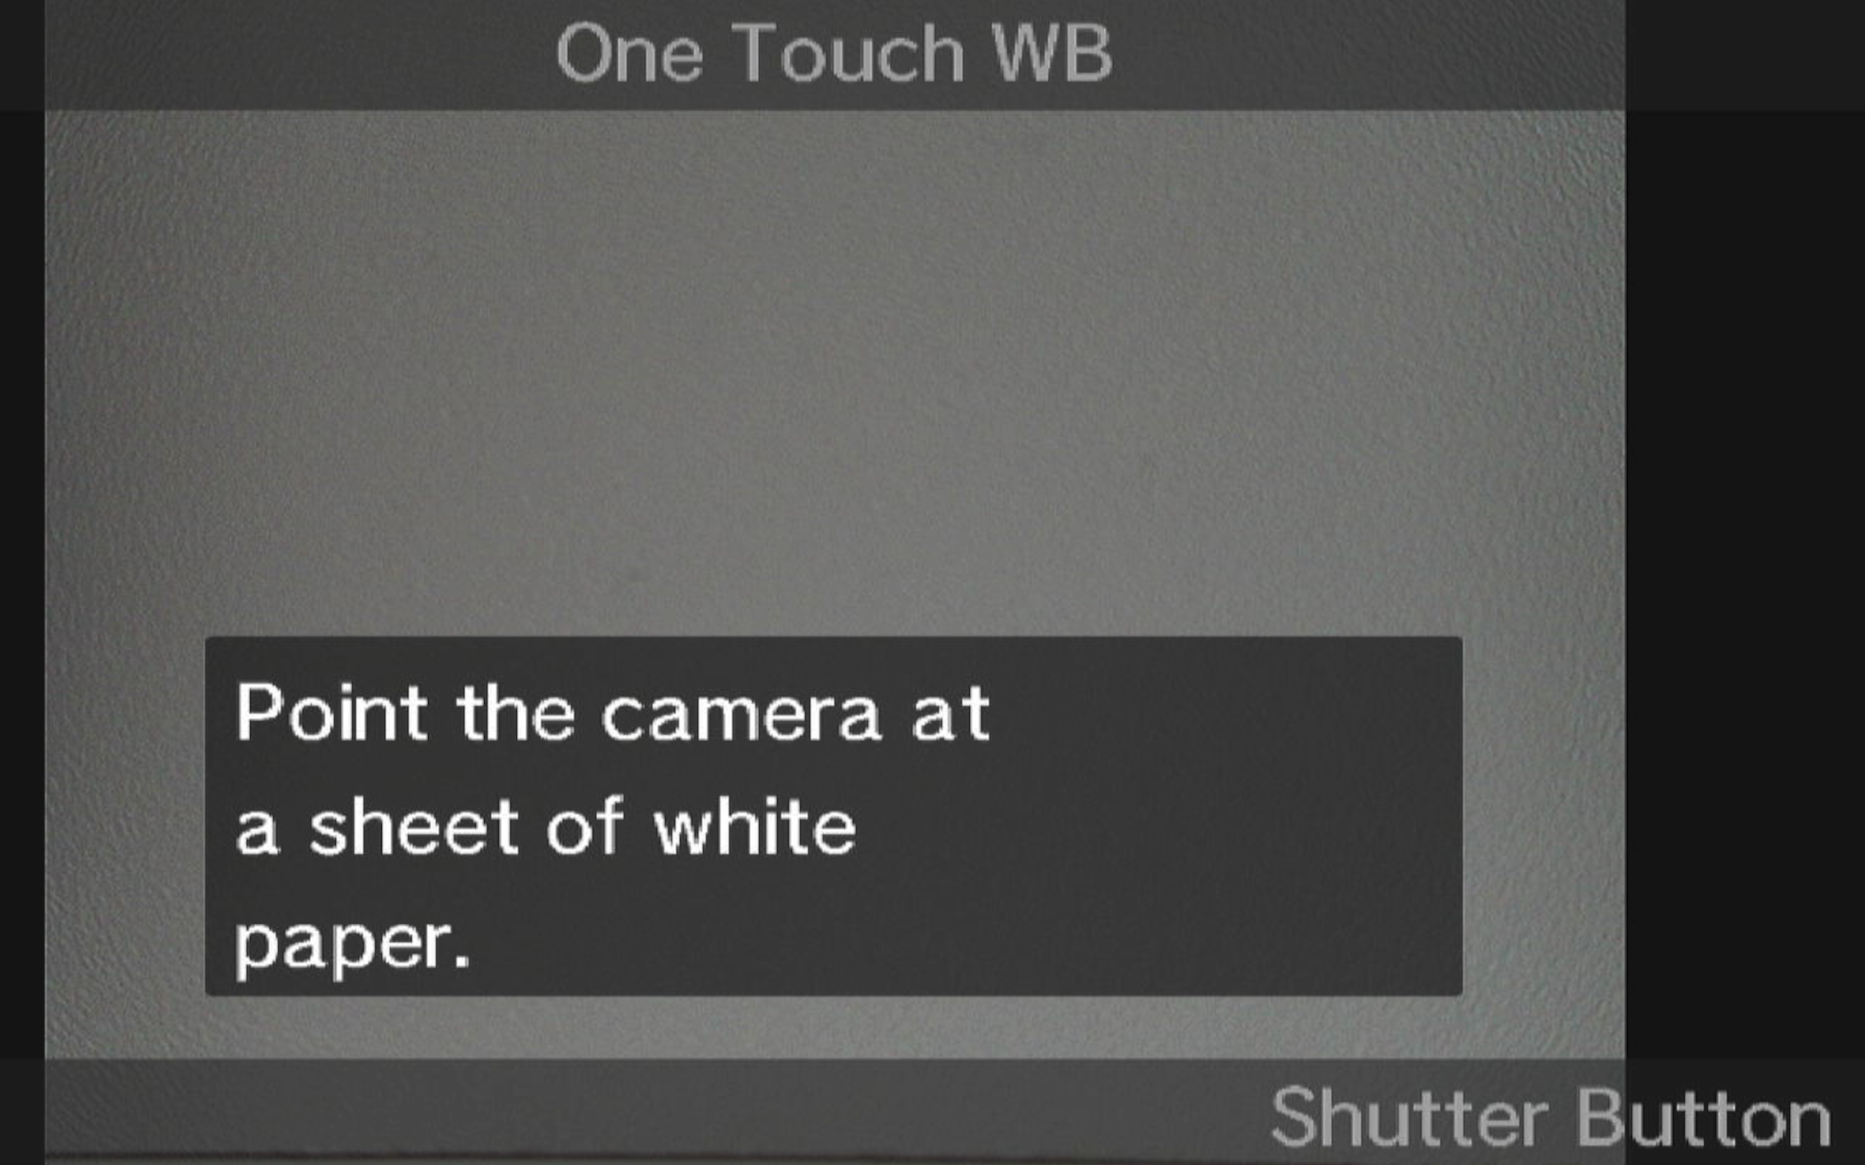
This is the instruction you’ll get next. Once you have your white object lined up press the camera shutter button

You’ll then get this shown. If you are happy with the result press OK when Yes is highlighted yellow. You’ll notice that the view on the screen is a lot lighter than the previous screen capture. That’s because this is generated as an image would be using the camera’s exposure setting while the previous view was just what was being shown on the camera screen (I hope that makes sense). Unlike with many other cameras when you set white balance this way you aren’t creating an actual reference picture.
Once you’ve set a capture white balance it is retained by the camera until you change it. having four different ones can be useful particularly for underwater photography where you can set different ones for four specific depth/distance to subject combinations. For example on your descent you could set one at 3m another at 6m then 9m and finally 12m. You can then keep them on the camera for the rest of the dive or even for successive dives if the conditions are going to be similar.
You may find that the camera doesn’t give you great colours below about 12 metres unless you add artificial light. This is because you lose the coloured wavelengths of light as you go deeper with red, orange and yellow mostly gone in the first 12m even in very clear bright conditions. As you get deeper the images produced using capture white balance will become more washed out because the blues or greens of the water will be removed but there won’t be the other colours left behind.
Capture white balance is a useful tool when taking pictures in shallow water using available light especially if you aren’t shooting raw images as less underlying colour information is retained in jpeg images so colour correcting them with software tends to give poorer results. For video, capture white balance is very useful as it makes it less necessary to colour correct in post-processing, something that can be harder to do than for still images.
Be aware that if you have set the white balance using available light and then add artificial lighting your pictures will end up very red because the additional light wasn't taken into account.

This shot of Anne was taken using Capture White Balance at about 5 or 6 metres depth in the Red Sea. You can see that there was enough red light still available for her nail varnish to show up nice and clear and while there is a slight blue tone in places where less sunlight reached, the overall colours have come out well with a nice tone to the blue in the background.
The final option is what Olympus call Custom White Balance Kelvin. This allows you to set the colour temperature yourself that the camera will adjust from. A possible use for this is when using strobes for underwater photography and you find that when the camera is set to Auto or flash white balance the colours in the background of your shots don’t look as you’d like them. Using this setting you can adjust the temperature to match your strobes colour temperature (available in the manual or specs of your strobe) and that should give you truer colours across your picture.
My own approach to using white balance tends to be to use Capture White Balance when shooting underwater video, setting the four different settings for different depth and re-using them whenever the conditions are similar. When conditions change significantly I’ll set new ones. But I don’t tend to shoot much video.
For still photography the gold standard is still to set white balance when using available light particularly for underwater but you’ll likely find that you have to do some adjustment with software to get the best results. Because of that I tend to do all my white balancing of pictures using Adobe Lightroom Classic and shoot in Raw with the camera set to Auto white balance. This cuts out issues caused when changing from using available light to flash, as you’ll have to remember to change your white balance when you do this. But it does become slightly more difficult when you have a picture with no white or grey area in the shot nearest to the camera to use as a reference and have to adjust the colour ‘by eye’.
If you don’t want to do post processing, are shooting jpeg and using available light, learning to use capture white balance is the way to go. It was the first thing I learnt to do after starting taking digital pictures underwater and I saw a definite improvement in the colours of my shallow water pictures.
If you’d like to learn more about underwater photography we offer courses online including ones specifically for TG users and workshops in the UK and overseas . We are also an equipment dealer for a wide range of brands including several housing manufacturers. Email info@alphamarinephoto.com with any enquiries or use our contact form to get in touch and sign up to our newsletter.
We also run a Q and A group on Facebook which anyone is welcome to join if they obey the rules.
If you found this blog useful and would like to support us you can ‘buy me a coffee’. Be aware that links to Wex, MPB or eBay listings are affiliate links and we get a small percentage if you buy something through them.